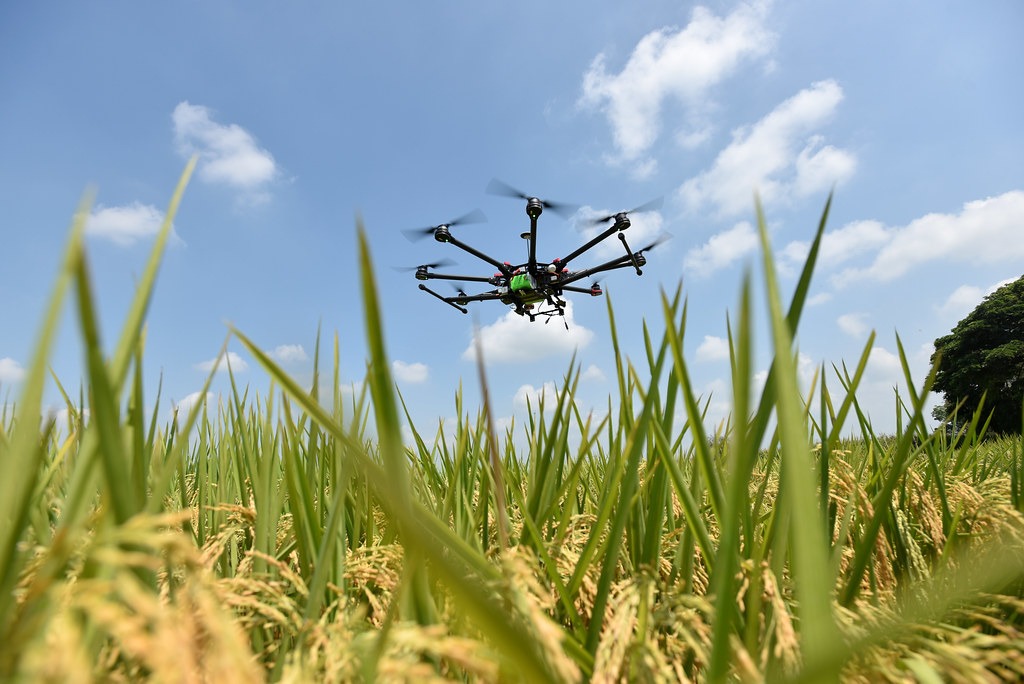
Manually catering for the heavy-duty and intensive chores of agriculture utilizes a lot of time and energy. To address the issue, the world introduced the miracle of drones that is growing fast in almost every sector of the economy, and agriculture is one such popular institution where drone technology has taken over.
The agriculture drone market is forever-growing at a fast rate exhibiting a Compound Annual Growth Rate (CAGR) of 18.14% during the periods of 2019-2022, and is predicted to follow a greater rate in future.
Drones are used for increasing precision of farming that leads to a greater crop yield and to keep the farmers informed about any potential issues. The drone technology is expected to take over all farming operations of both small-scale and large-scale farming within the next few years.
Types of Drones Used in Agriculture
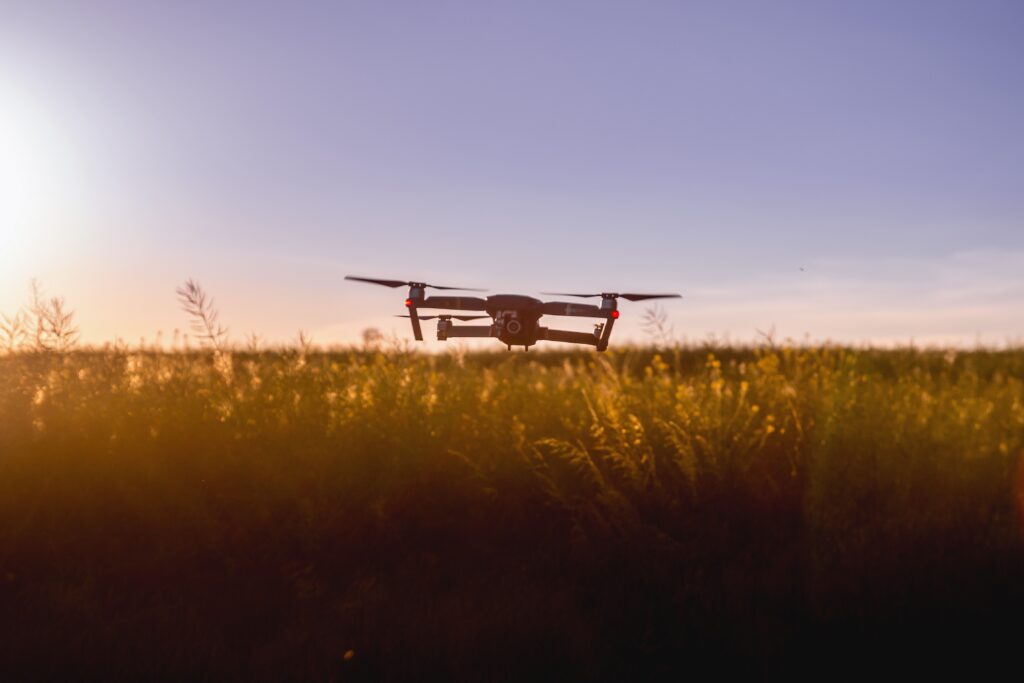
The two most widely used drones for agriculture purposes are fixed-wing drones and rotary-wing drones. Both are suitable for distinct purposes as listed below:

Fixed-Wing Drones
Fixed-wing drones resemble traditional aircraft and are typically used for crop mapping, surveillance, field analysis, and crop inspection from top view./Rotary-Wing Drones
The rotary wing drones are easily maneuverable that the fixed-wing drones, but are usually more expensive. This type is mostly used for pesticide spraying, fertilizer spreading, and crop monitoring.
Which drone is best for agriculture?
The market is replete with myriad types of agriculture drones to choose from and the most renowned one is the DJI Agras MG 1 crop-spraying drone. The model is simply not just a camera drone. The drone can cover approximately 4,000 to 6,000 agricultural land and can efficiently spray fertilizers, pesticides, or any other important component to increase crop yield.
The DJI is known for producing the best agriculture drones with amazing quality for best agricultural yields. This model can be used for both the small gardens and the larger ones; hence, sky’s the limit for this wonderful product. It can transport 10 kilograms of chemical solution and can efficiently deliver data of up to 7-10 acres of ground within an hour.
The amazing features are countless for this product, making it the best and the top rated drone for agriculture.
The other amazing available agricultural drones are:
- Phantom 4 RTK
- The Agras T20
- P4 Multispectral
What Are The Benefits Of Using Drones In Agriculture?
Agriculture drones serve best for monitoring crop growth and unlike the traditional means of agriculture, this advanced technology is best for precision agriculture. Drones are beneficial for a multitude of reasons and a few benefits are:
- Enhanced Efficiency:
The drones technology is capable of covering large lands efficiently and instantly. Drones deliver data 40x faster than traditional methods.
- Advanced Accuracy:
The accuracy in drones is unmatchable to any other electronic gadget. Possessing high-resolution cameras, these marvelous gadgets provide farmers with detained information of their crops and assist them in determining ways to increase yield estimates, and refine irrigation planning.
- Protection:
UAVs can perform heavy-duty tasks that humans cannot easily perform. Such tasks that might pose danger to the farmers can easily be performed by this new technology.
- Data Collection:
Drones seamlessly deliver data about the condition of crops and alarm about any action that might be required to avoid any issue. Drones alarm about any potential dangers beforehand through the data collected.
- Reduced Investments:
Drones are best to improve output in minimum possible investment. Drones collect data to inform the farmers about the exact required quantities of water, fertilizers, and pesticides to be used for the best yield rate in limited input; saving money of the farmer.
- Time-saving:
Drones are efficient in performing time-taking tasks that farmers take longer to complete. For instance, the tasks like crop mapping and field analysis take longer for farmers but for UAV, these tasks are done 40x faster.
- Better Planning:
The drones collect data for potential improvements that can increase crop yield and give an edge to the farmers in mission planning for improved crop management, leading to increased yield and improved profitability.
- Prior track of problems:
Drones detect problems ahead of time, giving enough time for farmers to plan accordingly for future regulations, and to avoid any issues.
Disadvantages of Using Drones in Agriculture?
In addition to the amazing benefits of using drones in agriculture, the gadgets contain some disadvantages that are mentioned ahead.
- High Costs:
Agricultural drones are expensive for small land farmers. The costs typically range from a few hundred dollars to thousands of dollars.
- Challenge to security:
In addition to the positive security solutions provided by drones, the same can be used for spying on farms and delivering hazardous chemicals to destroy farms.
- Weather:
Weather is forever full of surprises and can cause hurdles for the working of drones. High speed winds and rain impact the working of drones and may even result in destroying the expensive gadget which is conspicuously bad news.
Use of Drone Technology in Agricultural
Drone technology is being used in various fields of agriculture. In-fact drones have taken over a lot of agricultural tasks in many countries. Even several developing nations have begun to incorporate this new technology in their farming operation. The agriculture drone has taken roots in many agricultural sectors as discussed below.
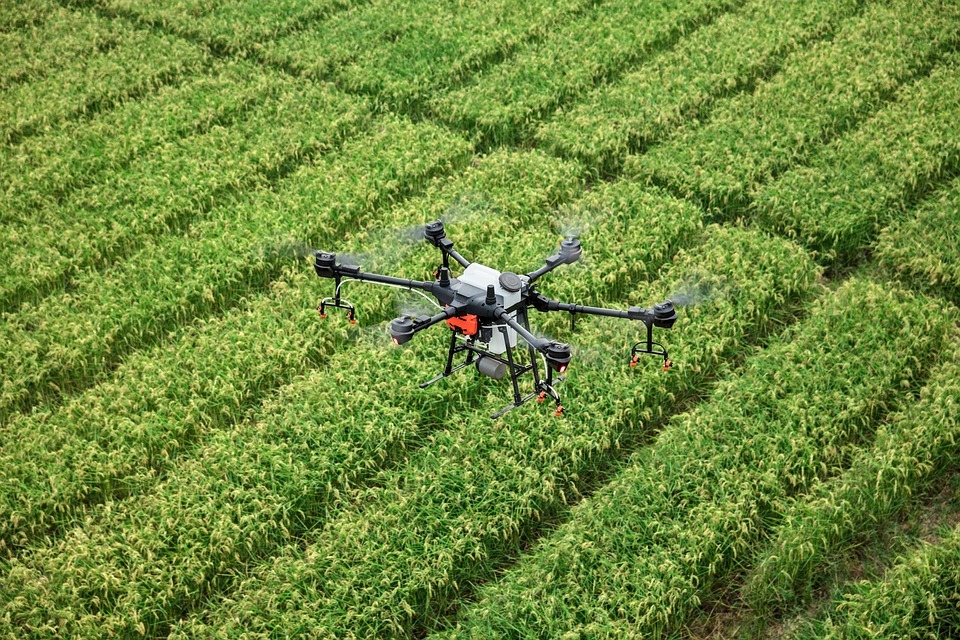
Agriculture Drone for spraying fertilizer and pesticides
Use of drones for spraying pesticides and fertilizers is already widespread in various countries, especially South Korea where the use of drones for spraying has already exceeded up to 30% of their agriculture spraying. A drone can easily fly to reach intricate zones that farmers find hard to navigate. Drone sprayers can even reach steep corners at high elevations like tea fields, saving workers from intense efforts.
Drones for spraying reach very fine corners to maximize efficiency and cost cutting ability. Furthermore, drones technology also saves farmers from difficulty navigating through farms with a backpack sprayer that can also cause environmental pollution and hazardous health issues to the farmer.
Different countries hold different laws for the use of drone sprayers; like Canada, where drones are not allowed to be used for spraying purposes. Also, companies like Yamaha believe that only trained professionals should be allowed to use sprayers drones and they only lease their spray drone services only to licensed operators.
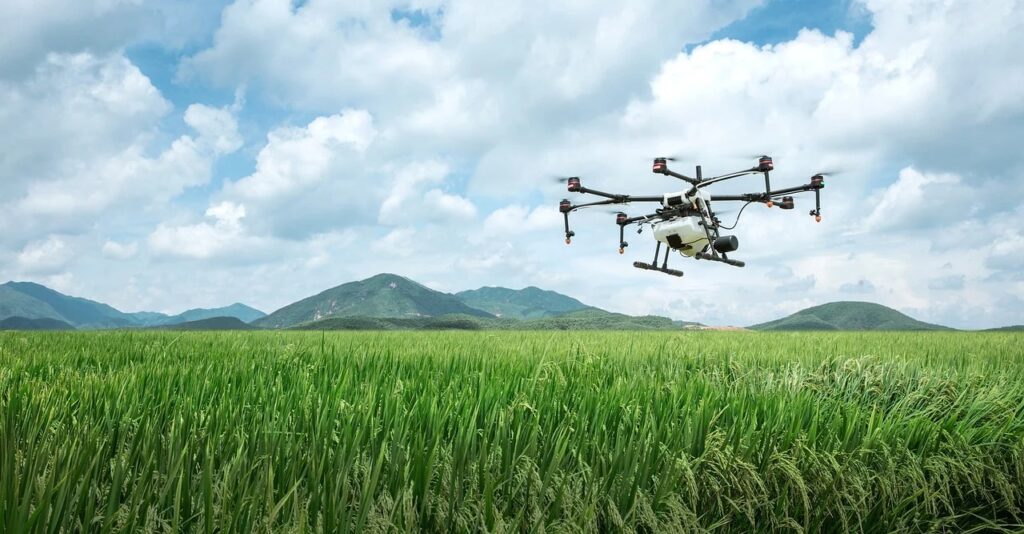
Monitoring Field Conditions
Drones are actively being used for monitoring crop health and any potential issues that the farms may pose for the health of crops. Drones for monitoring fetch data to monitor the health of soil and field conditions. These drones fetch accurate field mapping to allow the farmers to figure out any irregularities in the soil.
These drones monitor crops’ requirement of water and the availability of all required components, and in case of any deficiencies, these drones readily inform the growers about the potential deficiencies, so that the farmer can more efficiently address the issue.
Even companies have manufactured advanced monitoring drones that can even deliver data about the nitrogen content in the field. This allows for precise application of nitrogen rich fertilizers, to inhibit any potential issue from arising.
Planting & Seeding
Using drones for planting and seeding has just been initiated in fewer areas around the globe and is yet to gain popularity. Automated drone seeders are being used to reach intricate and more complicated areas. The usage is more wide in the forestry industries for plantation to combat the fast pacing menace of climate change.
These drones are also being used for oil seeding and rice seeding purposes, which takes longer to process otherwise. The use of automated drone seeders increases efficiency with less labor power and can plant 400,000 trees a day, with the help of only two workers.
Scouting/Monitoring Plant Health
Drones for monitoring plant health are one of the famous uses that have already taken roots in agriculture industry in most countries. These types of drones are installed with an advanced imaging technique called Normalized Difference Vegetation Index (NDVI) that uses detailed coloring information for providing data of plant’s health.
The use of drone for monitoring plant health helps farmers to figure any potential health issues in plants, and its causes. In this way, farmers can plan ways to avoid the issue, before the problem becomes serious.
Drones possessing regular cameras are also being used to track plants’ health. These types use satellite imagery to deliver data to monitor crop growth and density. However, this method is more costly and less accurate as compared to the NDVI drones.
Security
The drone industry has taken roots for security purposes in several institutions, and agriculture is one such department. The monitoring of the vast lands, which otherwise takes multiple hours, has become a piece of cake with the drone regulations ability that takes a few minutes to complete the task.
Drone security keeps farmers informed of the conditions of their farms throughout the day and fetches any potential danger approaching the farm.
Furthermore, Drone surveillance is also being used to protect farm animals by locating missing or injured livestock, present in far off land.
The drone security cameras keep farmers informed of farm operations 24/7. This way, farmers can keep tracking the running of operations throughout the day.
Drone Pollination
Pollination using drones is being tested at a fast pace to multiply pollination to increase yields in less time. Drone technology has proven to fasten agricultural operations in less time and effort, but with higher costs.
Intensive research is being carried out for finding ways to use drones for maximum pollination during the pollinating season without hurting the plants.
The research will increase the already widespread use of drone technology even in developing countries for increased yields and maximum food production.
Livestock Management
Usually farmers possess animals, in addition to their farms. Most livestock animals are large in numbers and to keep a track of such large numbers of animals along with the farms can be a real challenge. In this scenario, livestock can be monitored and managed with the help of drones, and cameras. The drones can also inform about the presence of harmful predators that might cause injury to the livestock animals, or about an already injured or sick animal.
Drone AI
Incorporation of Artificial Intelligence (AI) in agricultural drones is being researched for machine learning. This way, farmers can rely on machines to make critical decisions on their own, without the help of the caretakers.
This technology is important for making drones more useful for smaller farmers in under-privileged states. The available drones are more efficient for monitoring crops like corn. Although the AI drone system works effectively; however, the workability is limited for the gigantic cost a drone has. Therefore, the AI drone system needs a lot of refinement to make it more efficient to also recognize less common crops and for incorporating better performance for a higher yield rate.
Drone Irrigation
To increase crop production in this era of extreme climate change is becoming a challenge owing to the ever increasing drought conditions. To combat the issue, new researches from Australia have emerged for using drone irrigation operations to reach potential solutions.
Drone for irrigation uses microwave sensing to capture even minute and highly accurate soil health data including the soil’s moisture level from the bird’s eye view. This alarms the farmer to take special provisions for areas lacking water and avoid any potential loss.
This implies that the farmers can stay relaxed and let the drones take care of all the potentially harmful issues and keep the farmers informed of any future problems.
Conclusion
Drone technology in agriculture is increasing at a fast pace with more users adopting the ever developing technology. Drones have already changed the ways traditional agriculture used to operate, and have increased ease and profitability of this industry by introducing advanced technology for performing tasks like crop mapping, field analysis, planning, and monitoring of crops.
New researches are emerging with every passing day for incorporating more ease using a drone, like for irrigation and pollination. The world will soon witness a sharp increase in food production and a decrease in the fast pacing menace of climate change.